In order to do a job well, you need to use the right tools and for many woodworking projects, a miter saw is not just the right tool, but the only tool. Any experienced woodworker or carpenter is familiar with the miter saw, but if you are new to this craft, let me help you and explain what a miter is and why you would want to saw with one.
Shared via Unsplash.
What is a Miter?
Simply put, a miter is a joint made of angled cuts, like those at the corner of a picture frame or the trim around the edge of a door. I would venture to say that whatever room you are sitting in right now, you could look around and find at least a dozen miter joints within view. Just one typical picture frame has four of them. So, you can see how useful it would be to have a saw that makes these cuts quickly and precisely.
Most miter saws today are power saws, and they use circular saw blades and precisely machined surfaces so that the angles you want to cut can be done accurately. Most are also adjustable, so you can set the angle of your cut anywhere between 45 and 90 degrees. Others can cut complex angles that have two different angles at the same time for applications like installing the corners on crown molding. If you are setting up or expanding your woodworking shop, you will want to include some type of miter saw in your plans.
Steve Ramsey, who hosts a YouTube show on woodworking has a nice video detailing what you can do with a miter saw and what some of the advantages are. You can find his video here:
Types of Saws
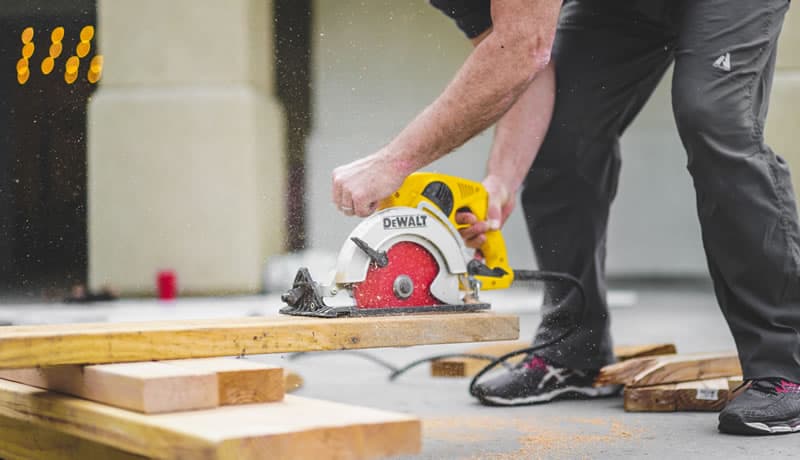
There are basically three different sizes of saws based on the size of the blade they use. Most saws use either a 7¼, 10, or 12 inch blade. If you are going to be working with medium or large material the 7¼ blade may be too small. Miter saws are cross-cut saws, which means they normally cut across the grain.
Types of Cuts
One of the advantages of miter saws is the variety of cuts you can make. There are four basic cuts:
Cross cut – this is simply a cut that goes at 90 degrees across the grain.
Miter cut – this is an angled cut across the width of the material. It can be at a variety of angles, but it will have a straight edge. A good example is the corners of most picture frames and door frames.
Bevel cut – This is also an angled cut, but along the thickness of the material. You might see this cut along the edge of a table top or bookshelf to prevent sharp edges.
Compound cut – this cut is a combination of the miter and bevel cuts generally used when joining pieces of trim like those found in crown molding.
How to Use A Miter Saw
Projects Using Your Miter Saw
Once you have decided on what kind of miter saw to get, you will want to put it to good use. Here are a couple of projects to begin using your saw that will help you understand how it works and what its advantages are:
Simple Picture Frame
This is a basic project that utilizes the greatest strengths of the miter saw. This video shows how to adjust your saw and how to properly use the fence. It also details how to make your cuts with the greatest accuracy so the joints will fit properly. Check out this video for a great project with your miter saw.
Half-lap Joints for Table Legs
This is a project that is a little different. If you are making a table or bench and want to use what are called half-lap joints, which are joints that are cut half way through the width of the piece, these videos show you how to do that on your miter saw. This makes a strong, tight joint that can hold quite a bit of weight.
Check out this videos for guidance:
Miter Saw Safety
Before you begin using a miter saw, there are a few safety precautions you should keep in mind. The miter saw is one of the loudest tools in the shop. Always use proper ear and eye protection when you are using the saw. You also don’t want to be wearing anything that could get caught in the blade and cause injury. This includes loose clothing, jewelry, and even gloves. Always be certain the guard is in place.
Remember: the manufacturer put it there for a reason! Be sure to use the saw as it was intended with the proper size blade, correctly attached to a table or stand, and keeping your hands clear of the blade path. This will help ensure you have a safe and successful experience with your saw.
Miter Saw Maintenance
Miter saws are very useful tools and can be used to create a variety of projects, but like any tool, they must be properly maintained/ Here are a few tips to keep your saw in tip-top shape.
Keep it Clean
Although this might seem like an obvious statement, you would be surprised how many saws get put away with all kinds of dust and debris floating around in them. Use a shop vac or compressed air to clear sawdust and wood debris from your saw before you put it away.
Be sure to clean not only the saw itself but also the fence and the sliding surface of the saw. If there are loose pieces of debris on these surfaces, it can cause your saw to make inaccurate cuts, which can ruin a project.
Clean and Sharpen the Blade
.
Although most people purchase new blades when the old one gets dull, you can actually sharpen them with a small file. This will help extend the life of the blade and make your saw more cost effective.
Even if you choose not to sharpen your blade, you should still keep it clean. You can wipe it down after use, but be sure that the saw is unplugged when you do this.
It would apply using Scroll Saw and Band Saw too.
Clean Lubricate Moving Parts
Since most saws have adjustable angles, and some have sliders to extend the cutting width, these moving parts need to be clean and well lubricated. After use, just dust them off and spray a bit of WD-40 or similar lubricant to keep them sliding smoothly.
A miter saw is one of the most basic tools in the wood worker’s shop. It can make a variety of projects much easier and much more successful. These few tips should help you get many years of quality use out of your saw.
