Ever thought about doing something with your decor you weren’t supposed to? I mean using your decor in a way it wasn’t intended to be used to add a unique flair to your home.
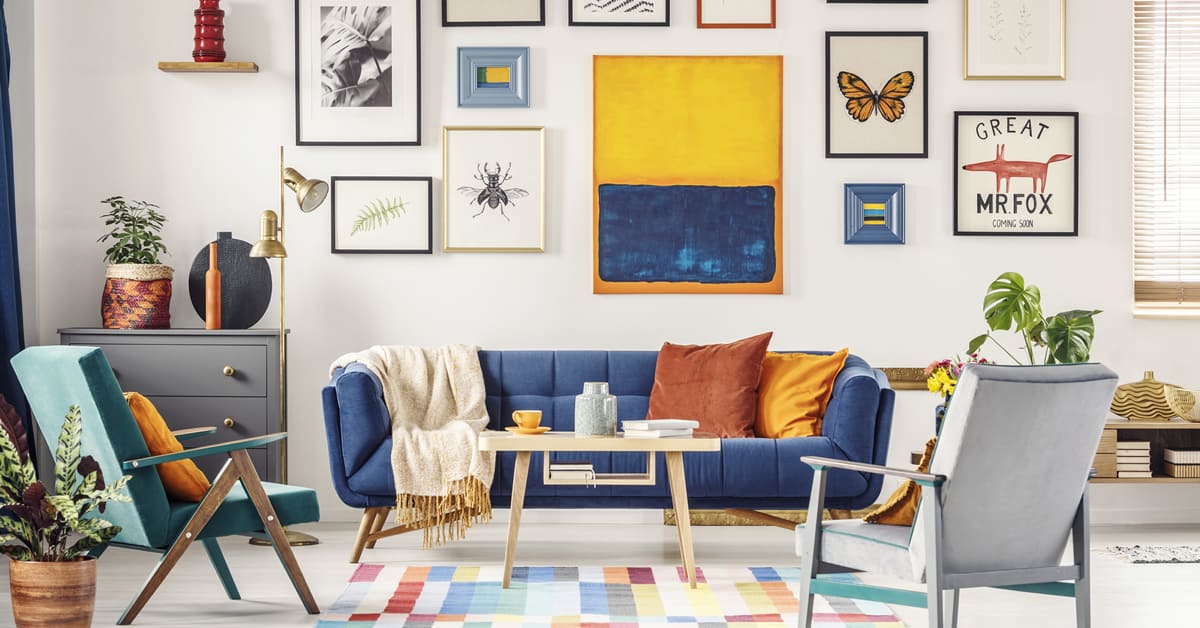
I think we can all agree that injecting your own personality into your design is key to achieving a unique look. The stuff we all use on Pinterest and Instagram looks nice, but it’s all been done before. There’s nothing really new or engaging about it anymore. We need something different.
If you’re struggling to find a way to create a unique, memorable look for your home, one that no one else has, use a little home-grown ingenuity! Use these four tips to put your decor to work in a way that isn’t traditional but is certainly beautiful!
1. An Area Rug as Hanging Art
Contents
Who says your rug only works if it’s on the floor? With a little bit of ingenuity, you can turn your area rug into a gorgeous piece of wall art that will make any room look absolutely gorgeous!
It’s very simple to do, and you can use whatever type of rug that suits your tastes best to achieve the look you want.
How to Do It
Start by finding the perfect rug to hang on your wall. The most important factors you need to consider include:
- The color
- The patterns
- The texture
- The material
- The weight
Colors and patterns can be whatever you choose. I would recommend a color that’s either complimentary to your color scheme, or selecting a color that would form a triad color scheme if you already have two other primary colors. Material and weight will also be important because you don’t want an excessively heavy rug that will damage or fall off your wall. I’d recommend materials such as cotton or polyester, which are lightweight but look phenomenal.
Pick the spot where you want to hang your rug. Install either a shower or hanging rod per the included instructions. Drape your rug over your rod. Now stand back, and take a moment to admire your new piece of hanging wall art.
2. A Window Frame as a Photo Frame
Since we’re naturally inclined to look out of a window, why not use that impulse to show off your photos? You can use a multi-pane window frame as a photo frame that looks phenomenal in just a few easy steps!
How to Do It
Start by choosing a photo frame that matches your scheme. You can have as few or as many panes as you want, but I’d recommend at least four to six. That will give you plenty of spaces to hang different photos.
If the frame came pre-packed with glass, carefully remove it. One the glass is out, check the frame for any residual glass shards and remove them with a small vacuum. If the frame is made of wood, you may need to sand down the edges to avoid injury and damage to your photos.
Choose a spot on the wall, and affix your photos using wall glue or tape. Voila! You’ve made a beautiful, completely unique photo frame to display your cherished memories!
3. A Chalkboard Wall
If you’ve got kids, you know how the little tykes love to draw on everything. You may have even come home to find that your walls have become their easel. That probably didn’t make you too happy, but it should give you a great decor idea that’s completely unique. You can give them all the room they need to draw on the walls, and not have to worry about cleanup, using a chalkboard!
How to Do It
First, measure the dimensions of your wall and record the numbers. I’d recommend that you put your chalkboard in a room with a window, so you can air out chalk dust if necessary. Take your dimensions to any art supply store, such as Hobby Lobby or Michael’s, and find an uncut chalkboard. If a hobby shop doesn’t have it, you can check office supply stores instead. Have the store cut the chalkboard to your dimensions. You also want your board to be anywhere from a quarter to a half inch thick so your kids won’t damage the underlying wall.
Once you get home, attach the chalkboard to your wall using epoxy or nails. Once that’s done, lightly coat your entire board using the side of a piece of chalk. This is called “seasoning,” and it will prevent permanent chalk etchings in your board.
That’s all there is to it! I’d recommend that you get a small rug of some kind to put under your chalkboard. That will prevent dust residue from coating your floor.
4. A Pantry Door as a Corner Shelf
There’s usually one big problem you have to worry about with shelves: will it support the weight of your items? By using two pantry doors as a foundation, you can build an original shelf that will support your needs and look fantastic doing it.
How to Do It
Get two pantry doors in the color and style of your choosing. Follow the same rules about color we’ve already discussed. The doors can be as big or small as you like, but I’d recommend that they’re not more than two feet wide or seven feet tall, and are at least 1.5 inches thick.
Connect the two doors on the long ends at a 45-degree angle using nails, and add some wood glue for extra reinforcement. Measure out where you want to insert your shelves. Cut slots at least a half-inch deep into the surface of the doors to house your shelves. Pack the slots with wood glue, and insert your shelves. Let the glue dry for 24 hours before placing anything on your shelf.
Presto! You have a unique, beautifully designed corner shelf that your friends and family will be talking about for a long time to come!
