Few Types Of Tungsten Grinder
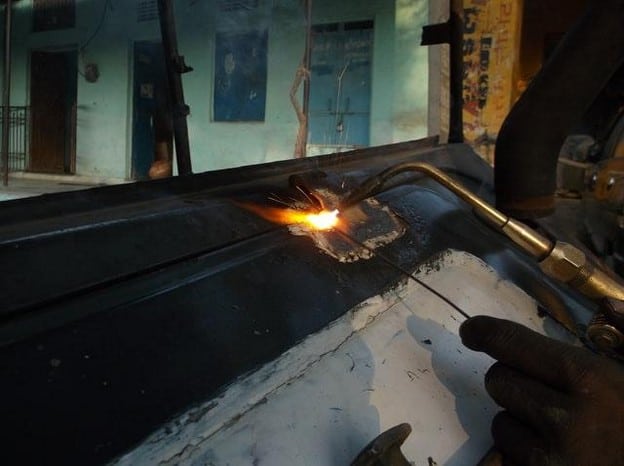
A primary element in TIG welding is the tungsten electrode which is responsible for the arc that transmits between the metal and the welder. The welding arc performance can’t be solid and clean if the setup is poor.
Part of the process before welding is sharpening the electrode, which can sometimes prove a daunting task for the newbie welder. Find out why a tungsten grinder is important at https://garage.eastwood.com/eastwood-chatter/why-do-you-need-a-tungsten-grinder/. How do you handle the process? There are roughly six steps after selecting the appropriate sharpening tool. Let’s examine these.
Sharpening Tungsten For The TiG Welding Process
Part of the setup for TIG welding includes preparing the tungsten electrode, which is responsible for creating the arm between the metal and the welder. The tungsten must be sharpened before it’s ready for a clean, strong welding performance.
For new welders, sharpening can often prove a bit confusing. Let’s review the steps to relieve some of that uncertainty.
1. A vital step when sharpening is removing contamination, so it doesn’t have the potential to tough the weld “pool.” That will require breaking or cutting the piece that’s contaminated from the tungsten electrode.
2. The indication is a “dedicated” tungsten grinder should be used, that or a tungsten sander
3. Grinding never happens “across” the rod; instead, “parallel to its length”
4. The angle of the electrode, when placed on the grinding wheel, needs to fall at “22.5a degrees.”
5. The instructions from this point include (quote) “tapering back roughly ⅔ of the diameter of the rod leaving a flat area that runs roughly ⅔ of the diameter of the rod on the tip for the ideal arc.” (end quote)
6. Use “acetone” to clean the surface
Selecting A Tungsten Grinder
The first step will be to select a tungsten grinder. A few varied tools are options for the grinding process, each with its own pros and cons. Regardless of the choice, each step for sharpening to get a clean point needs to be followed.
There’s not one grinding tool that will be better than the next. Each welder will have their own preference for personal reasons. Click for details on tungsten grinders. Let’s look at each individually.
-
Bench grinder
Among the most commonly used is the bench grinder for sharpening electrodes. For welders, your gang box is likely already supplemented by a bench grinder. If you weld and are minus one, you should get it. The suggestion is these are beneficial for electrode sharpening, but there are downsides too.
If a welder tends to use the same grinding wheel for multiple purposes, it can result in a contaminated rod. There’s the potential for rust and varied metals to be stuck to the wheel from using it. These can possibly transfer to the tip of the electrode.
Once there’s contamination, the weld will have debris, causing weakness. The suggestion is to dedicate tungsten grinder wheels separate from other general-purpose ones, but then you’ll need to remember to make the switch when changing jobs.
-
Angle grinder
Often, a metal shop will have an angle grinder available to handle tasks like removing rust. The indication is that these aren’t the perfect choice for the sharpening process since you must use both hands for the procedure.
That can result in an inconsistent angle because you aren’t able to have a stable source of support. There’s also more likelihood of contamination since an angle grinder has a lot of different uses.
Again, you can choose a dedicated wheel for tungsten grinding, but it would require specific time to switch these out between duties. That’s not always optimal when in a time crunch. This tool should be considered as a last resort when you don’t have another option.
-
Disc or belt sander
A floor-model sander is more often seen in a wood shop as opposed to a metal fab shop, but it’s possible. These are less likely to be contaminated since the belts are significantly bigger than the standard grinding wheel.
A disc sander boasts a table for electrode stability allowing a more consistent angle making the choice an excellent one.
The recommendation is if you have either of these, they will be “fine” for electrode tapering, but it isn’t wise to specifically go out and buy the options for this purpose. You’ll find better selections.
-
Chemical sharpening
Chemical sharpening consists of using a paste meant to burn the contamination away when it comes in contact with the tungsten, ultimately “eating its way” to a sharp tip.
The chemical sharpener needs a hot tip to work, meaning you need to “crack an arc” before the tip is dipped into the substance, where it will stay until there’s a sharp tip.
Some welders will pull the electrode in and out after dipping it to pay attention to the reaction and watch the shape. After developing an adequate tip, it should be wiped clean, as should the gas cup.
The downside with this process is it can not only produce an inconsistent result, but the process is messy. The “popping and fizzing” reaction has the potential to contaminate both the electrode and the gas cup.
The weld quality can be impacted because there can be an uneven reaction with flat spots and poor angles.
Final Thought
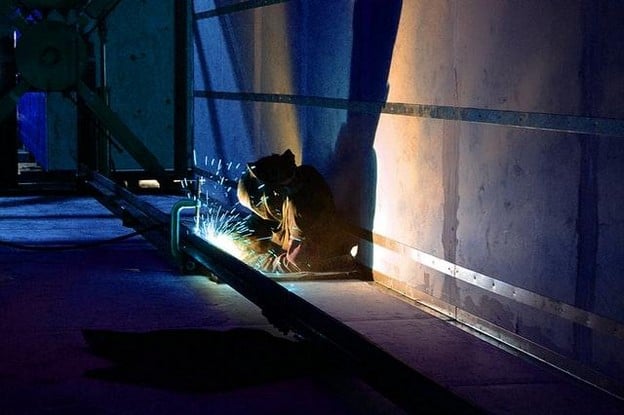
The welding process in a metal prefab shop or out in the field depends significantly on the tungsten electrode. This component needs to be prepared adequately, or the weld quality will be impacted.
New welders might find the sharpening process confusing, but using tools dedicated to this purpose can help to make it more simplified for them.
Many welders will use the tools they have on hand or in their gang box because of time constraints. The problem with grabbing something quickly is contaminating the electrode and the weld.
You might need to invest in an extra tool or take a few minutes to switch out to a dedicated wheel, but it will be worth it when you get a clean, strong result.
